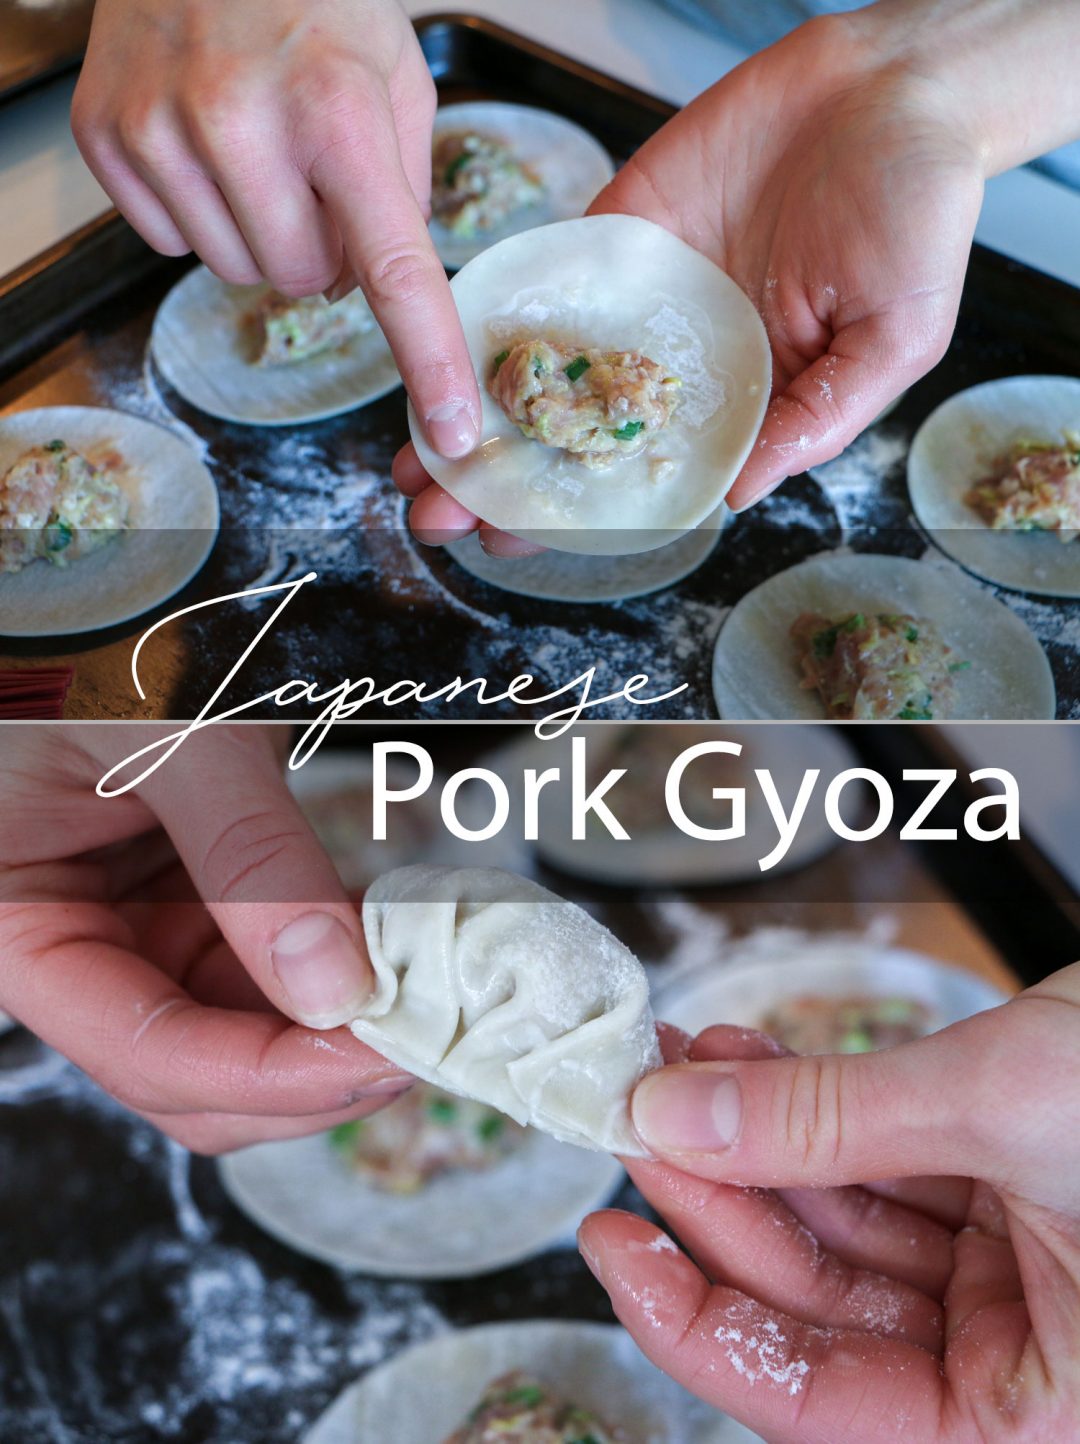
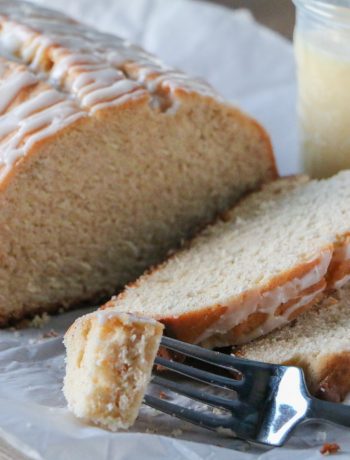
When I think back on my childhood, one of my fondest memories was making gyoza with my mom. It was definitely a tedious task with my little uncoordinated fingers, but also a fun experience because I was able to learn how to prepare gyoza from a master gyoza maker! It also provided me with the opportunity to learn tips and even some Japanese as my mom would always describe certain techniques with Japanese expressions. One of her most common expressions that she would use when she adds an ingredient that you normally wouldn’t think to add, is kakushi aji which translates to “hidden flavour”. The small addition of the “hidden flavour” (such as sugar, sake, mirin, or konbu just to name a few) enhances the flavours of the entire dish. This recipe uses sugar as the hidden flavour.
To this day I have been making the same recipe my mom uses and I can honestly say this is ![]() THE BEST RECIPE
THE BEST RECIPE ![]() , mainly because it’s my grandma’s recipe, but also because it is just so ah-maze-balls!
, mainly because it’s my grandma’s recipe, but also because it is just so ah-maze-balls! ![]() Now… I can say this because I think I’ve done enough gyoza taste testing in Canada and in Japan, that I can confidently say I have yet to find a recipe that superior to this one. Most gyoza you find in restaurants are loaded with vegetables but are lacking in the meat department, which I am not fond of. This recipe is loaded with porky goodness and only has three leaves of hakusai! Now that’s the meat to veggie ratio I’m talking about!
Now… I can say this because I think I’ve done enough gyoza taste testing in Canada and in Japan, that I can confidently say I have yet to find a recipe that superior to this one. Most gyoza you find in restaurants are loaded with vegetables but are lacking in the meat department, which I am not fond of. This recipe is loaded with porky goodness and only has three leaves of hakusai! Now that’s the meat to veggie ratio I’m talking about!
Although making gyoza at home is a bit time intensive, preparing it is fairly easy and if you make an event out of it and invite free labour your friends as many hands make light work. ![]() And if they are lucky you may even want to share the gyoza with them afterwards.
And if they are lucky you may even want to share the gyoza with them afterwards.
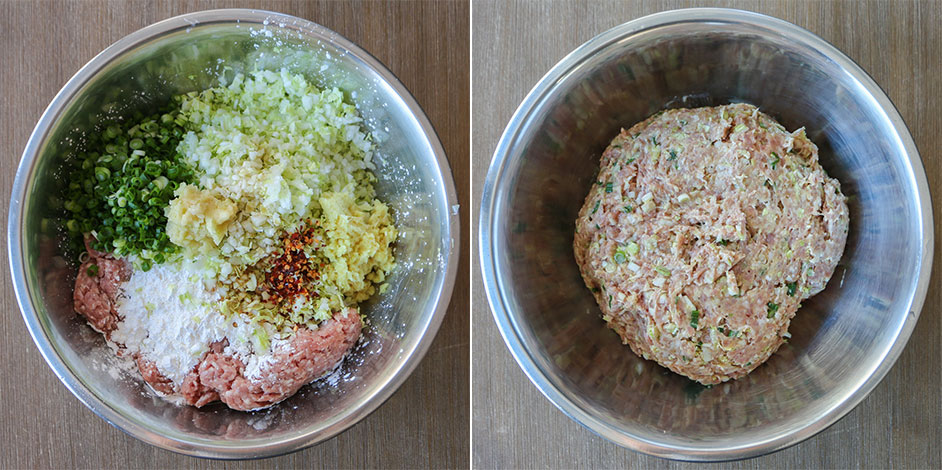
Step 1 – Get a large bowl and dump everything in it, then mix like you have never mixed before. Don’t be afraid to use your hands. Utensils and gloves are for the weak (I’m KIDDING… my mom likes to use a fork to mix…).
Pro Tip – Cook a small portion of the gyoza filling to ensure the seasonings are on point before moving to the next step. This tip can be applied whenever you are dealing with large batches of raw meat such as burgers, meatballs, sausages, etc.
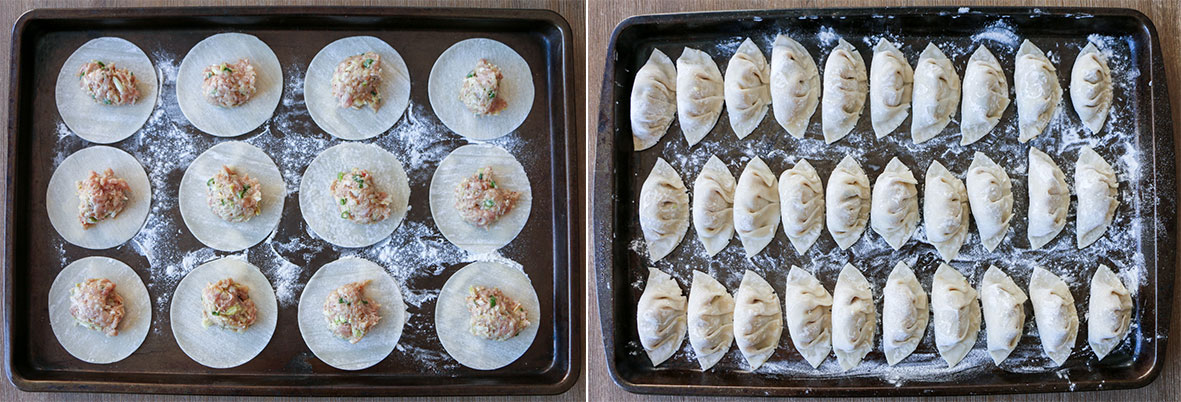
Step 2 – Lay the wrappers on a corn starch dusted baking sheet (this will prevent the wrappers from sticking to the baking sheet) and add only a tablespoon of gyoza filling. Don’t get too overzealous with the filling, if you add more you will not be able to properly fold the gyoza. Just remember back to the time when you over stuffed your burrito and could barely roll it closed and when you went to eat it, all the fill busted out the sides and through your hands. How sad did you feel? I don’t want you to feel sad eating my gyoza.
I work pretty quickly when I’m folding gyoza so I’ve never had an issue with the wrappers getting hard and dried out on the baking sheet, but make sure to not abandon them… they will dry out and your meat will spoil.
Pro Tip – Keep the remaining stack of gyoza under a damp towel while folding gyoza to prevent the wrappers from drying out and cracking.
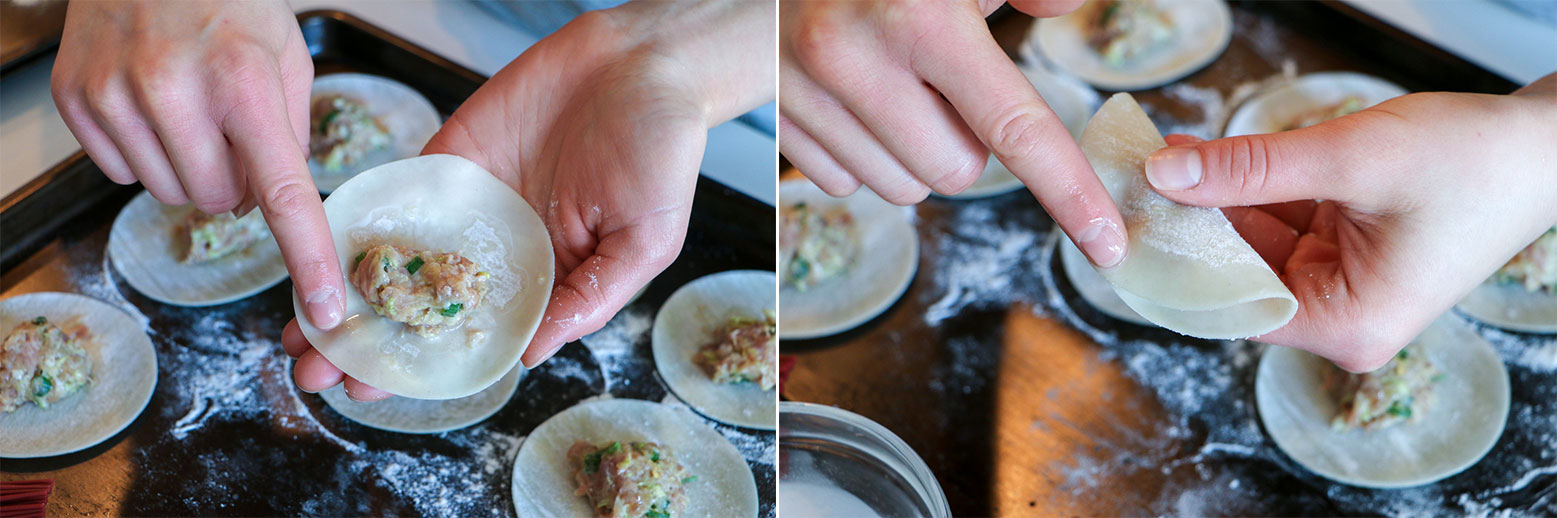
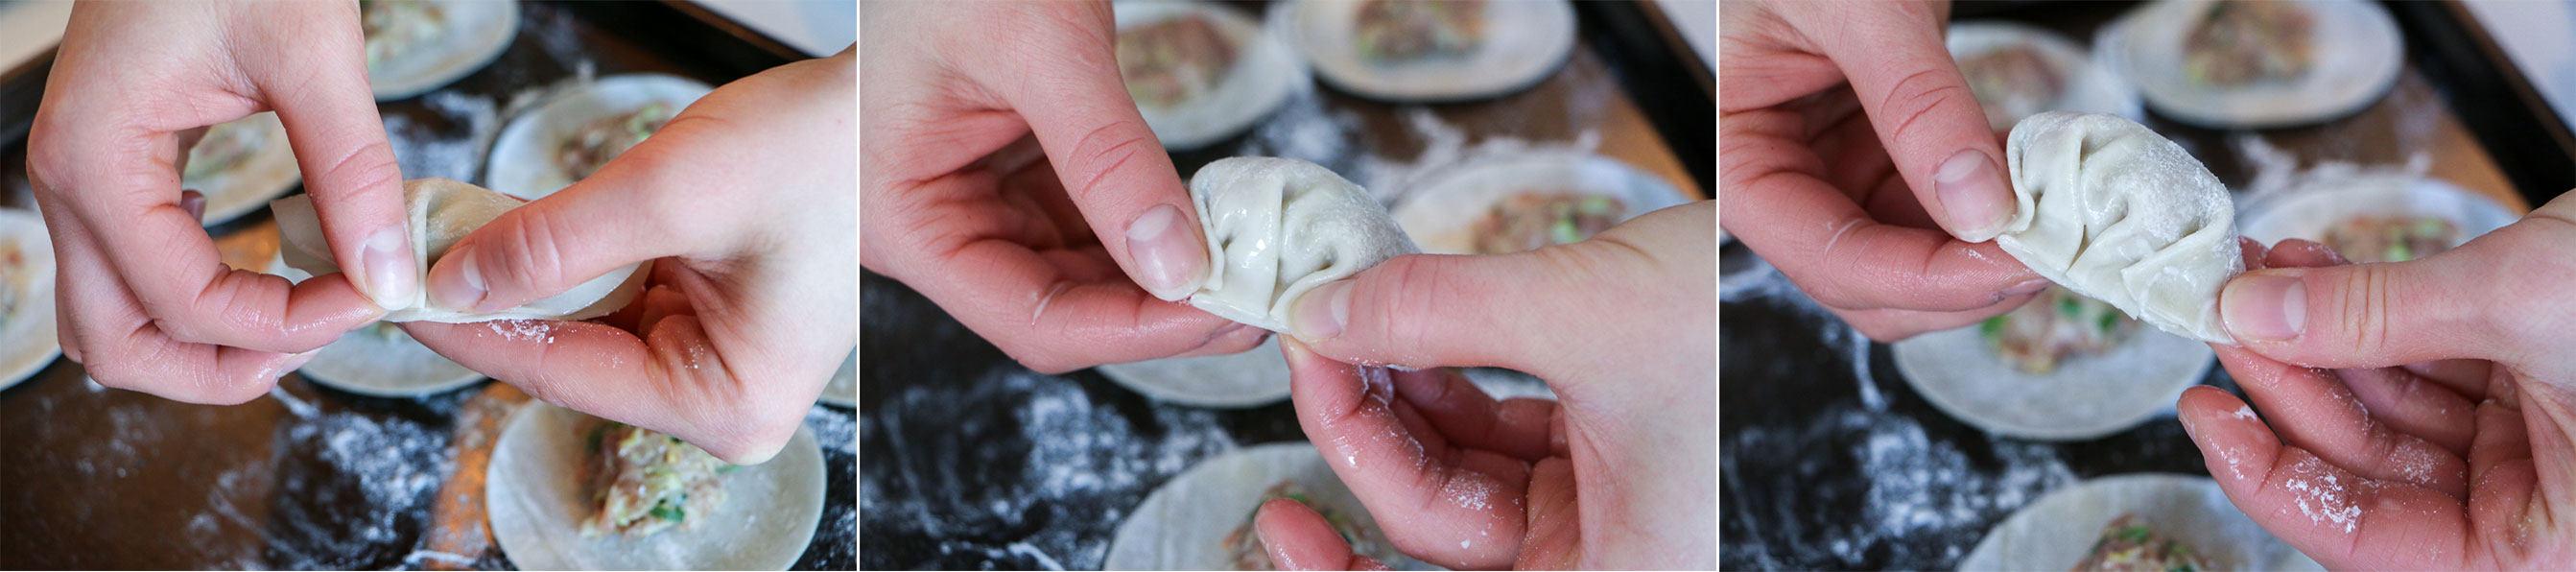
Step 3 – Have a bowl of water ready. Place one of the wrappers in the palm of your non-dominant hand. Moisten your finger and trace the edge of the wrapper. Gently fold and pinch the middle of the wrapper to seal the edge.
Step 4 – Working one side at a time from centre to the edge, gently pleat the top of the wrapper and press down to seal the edge. Repeat for the other side of the wrapper, you should end up with 2-3 pleats per side.
BAM! ![]() You’ve now folded your first gyoza. Repeat until all the gyoza filling is used up.
You’ve now folded your first gyoza. Repeat until all the gyoza filling is used up.
Now, once you have finished folding all the gyoza, you can either cook some of them (because you deserve some for folding all 50ish of them) or freeze them for later use.
Pro Tip – To freeze the gyoza, place them on a silicon lined baking sheet in the freezer. If you place the gyoza in a freezer bag first to freeze them, the gyoza will stick to the bag and there is a chance the gyoza will become misshapen. When the gyoza is frozen through, you can transfer the gyoza into freezer bags. The gyoza will last for months in the freezer. If you are cooking gyoza from a frozen state, do not defrost them! Cook them in a pan from frozen!
Step 5 – Ok, so you’ve decided you deserve some tasty gyoza after breaking your back from folding these delicate little dumplings.
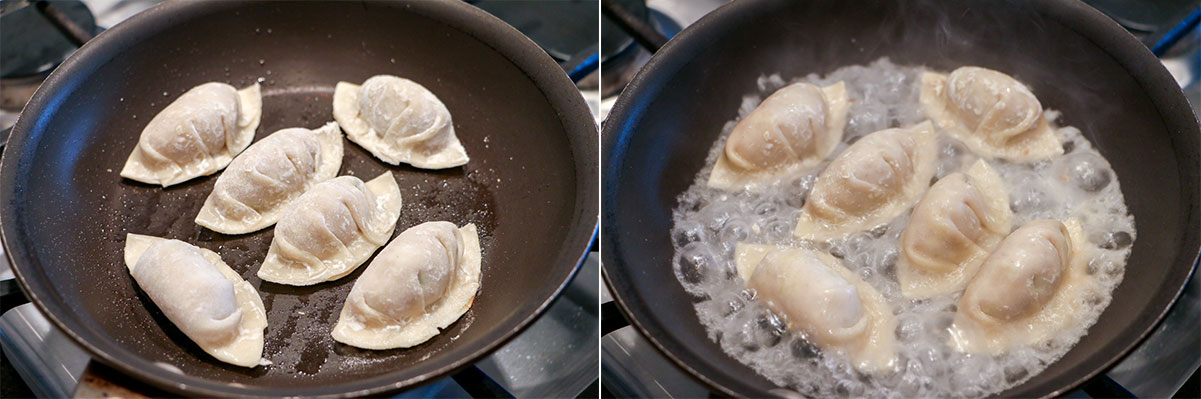
Heat a pan with oil, place gyoza flat side down. When the bottom is golden brown, add a tablespoon of water and cover the pan to steam until fully cooked.
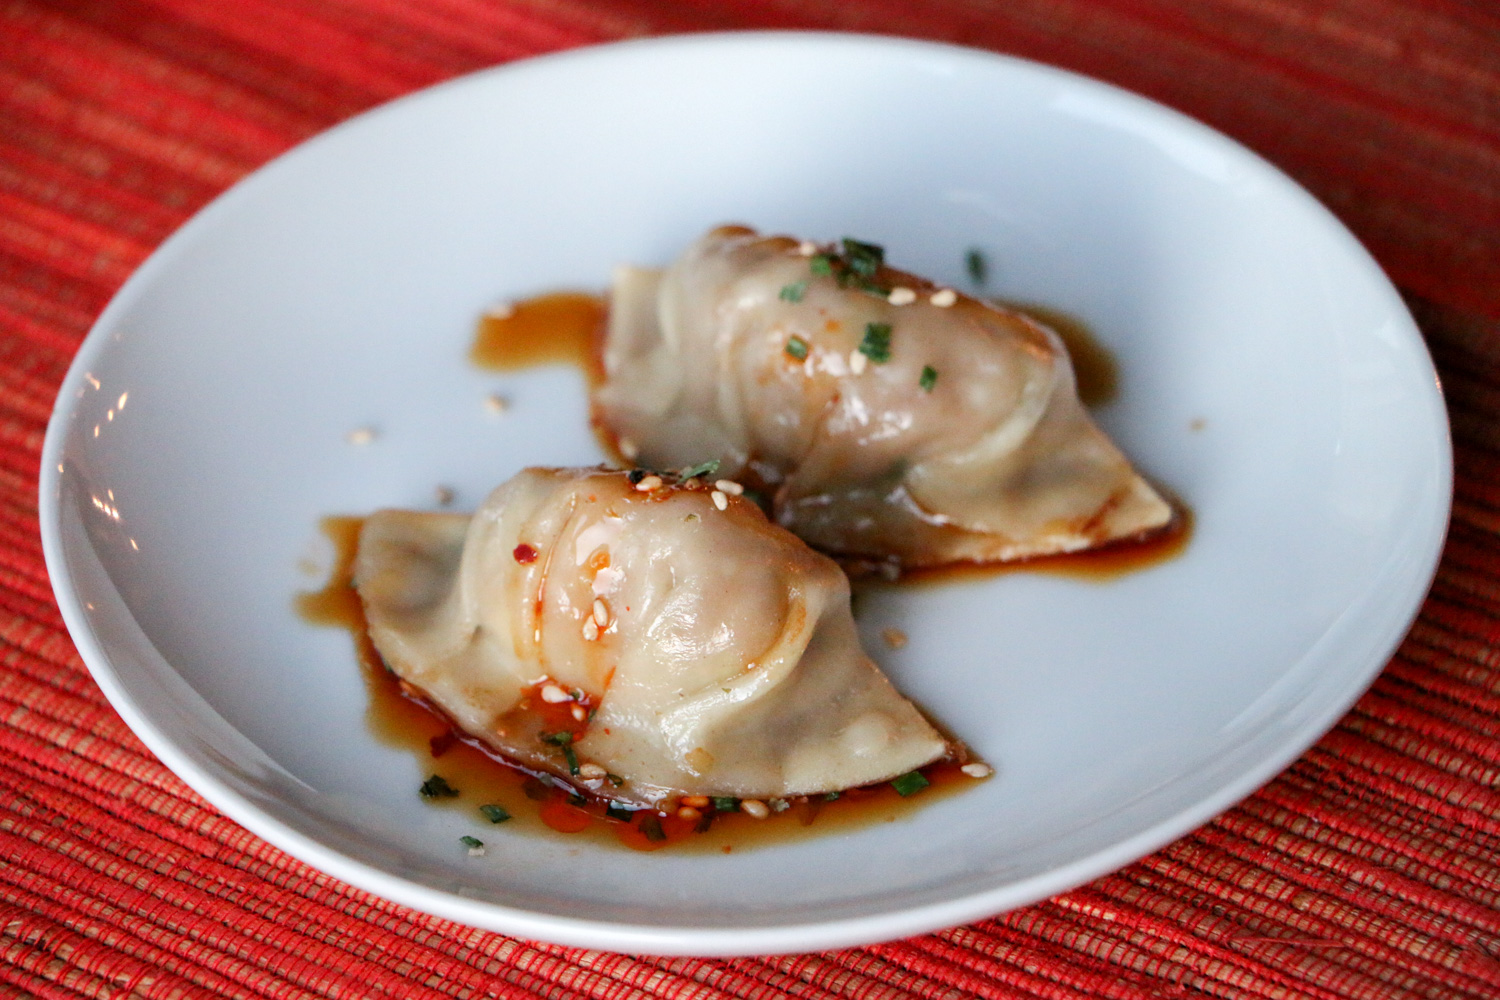
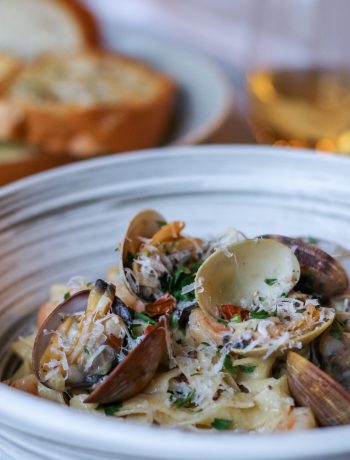
Step 6 – Cover the tasty gyoza in tare sauce, which is so simple: soy sauce, vinegar, hot sesame oil, sesame seeds, green onions, and red pepper flakes.
B.T.DUBBS… here is a YouTube video from many moons ago of Mama-san making the same recipe. Enjoy.

Japanese Pork Gyoza (豚肉の餃子 )
Ingredients
Pork Filling
- 1 pound ground pork
- 3 leaves hakusai napa cabbage, finely chopped
- 4 green onion bunches finely chopped
- 2 ginger knobs grated
- 2 garlic cloves grated
- 1 tablespoon soy sauce
- 1 teaspoon table salt
- ½ teaspoon sugar
- ¼ to 1 teaspoon red pepper flakes
- 1 tablespoon sesame oil or la-yu Japanese hot sesame oil
- 3 tablespoon cornstarch
- 1 tablespoon water
For Wrapping Gyoza
- about 50 round gyoza wrappers typically comes in packages of 2 x 50
- cornstarch for dusting
- water for dipping
For Cooking Gyoza
- 1 to 2 teaspoon oil for frying per batch
- 1 tablespoon water for steaming per batch
Tare (Dipping) Sauce
- 2 tablespoon soy sauce
- 2 drops la-yu Japanese hot sesame oil
- splash of white vinegar
- chopped green onions or chives garnish
- white sesame seeds garnish
- red pepper flakes garnish (optional)
Optional Sides
- rice
- cucumber bias cut
- cabbage finely sliced
- tomatoes wedged
Instructions
-
In a large mixing bowl, add all pork filling ingredients and mix the ingredients with your hands until evenly distributed. The mixture is ready when the meat starts to feel “sticky”.
-
Have a small bowl of water ready nearby. Dust a cookie sheet with cornstarch and arrange the groza wrappers neatly in several rows. Place a heaping tablespoon of pork filling in the middle of each gyoza wrapper. Place the gyoza wrapper in the palm of your non-dominant hand. Moisten a finger with water and trace your finger around the edge of the wrapper. Gently fold the wrapper in half and pinch the middle of the wrapper to seal the edge. Working one side at a time from centre to the edge, gently pleat the top of the wrapper and press down to seal the edge. Repeat for the other side of the wrapper, you should end up with 2 to 3 pleats per side. Set gyoza aside and repeat for remaining gyoza until all the filling is used.
-
Coat a large frying pan with oil and place over medium-high heat. When the oil starts to smoke, arrange the gyoza in the frying pan flat side down about 1 inch apart. Cook for about 3 to 5 minutes, until the bottom is golden brown. Add about 1 tablespoon of water to the pan and cover, steam the gyoza for another 3 to 5 minutes until cooked through.
-
While the gyoza cooks, prepare the tare dipping sauce. In a small bowl, add soy sauce, hot sesame oil and vinegar. Garnish with chives, sesame seeds and red pepper flakes for some extra heat.
-
Serve the gyoza on a plate, browned side up, with tare dipping sauce and optional sides.
-
Enjoy!
Recipe Notes
When folding gyoza, cover remaining stack of gyoza wrappers with a damp towel to prevent from drying out.
Freeze remaining gyoza for later use. Place gyoza on a silicone lined baking sheet and place in freezer. When frozen through, transfer gyoza into freezer bags. Do not defrost gyoza, cook from frozen.
No Comments